Workshop tricks
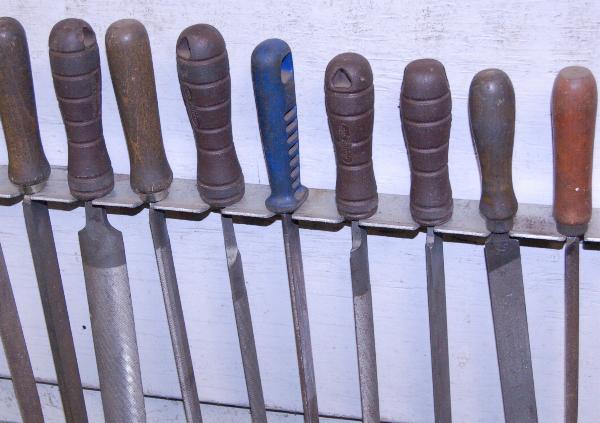
slotted aluminium angle, stops files banging about and makes them easy
to find
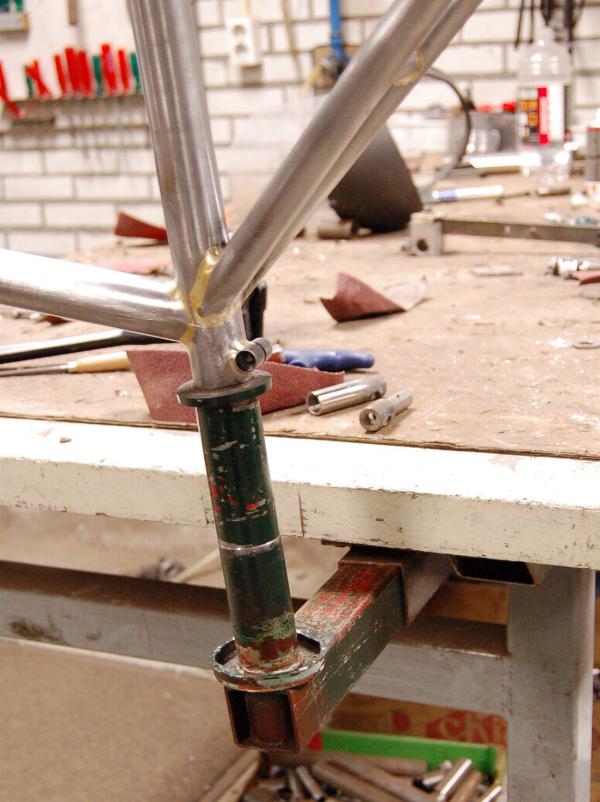
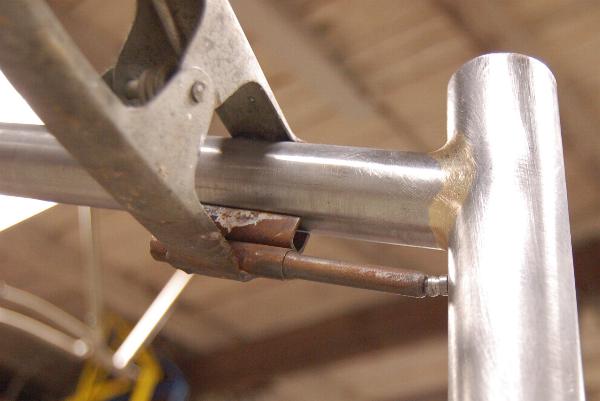
Vertical post welded on a piece of square tubing slides in bigger tube
bolted to
the workbench and is easily removed. You can put up the frame by
the seatpost for milling the BB or fitting bridges, you can put up the
frame by the headtube (saves it from dropping of the bench) or stick
the frame up by the BB shell (on the larger diameter) to ream the
seattube
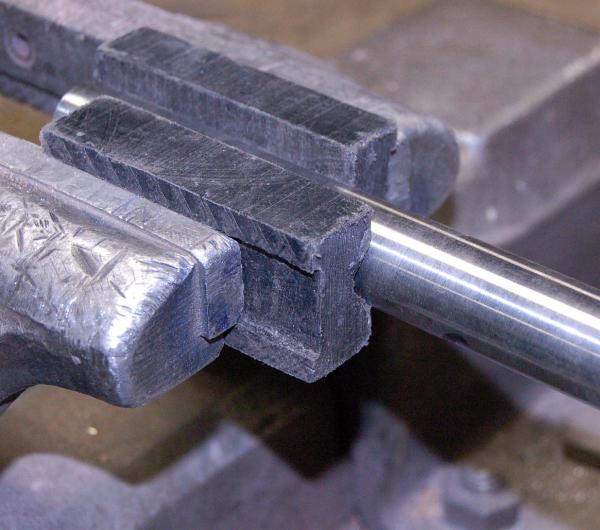
Plastic (HDPE) V-blocks. The groove along the back fits securely over
the smooth
jaws of the vice. If you remove the workpiece they usually stay in place
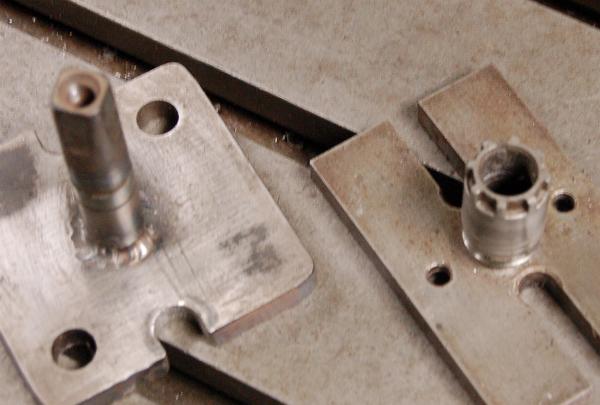
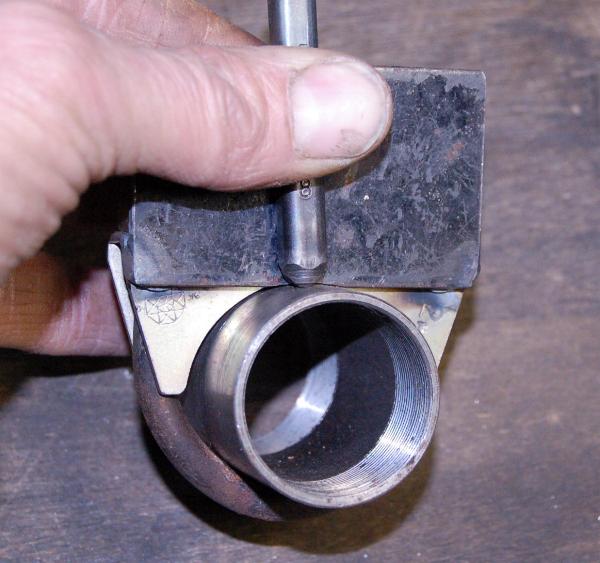
Supports for mounting cranks on the mill for shortening, made from old
axles
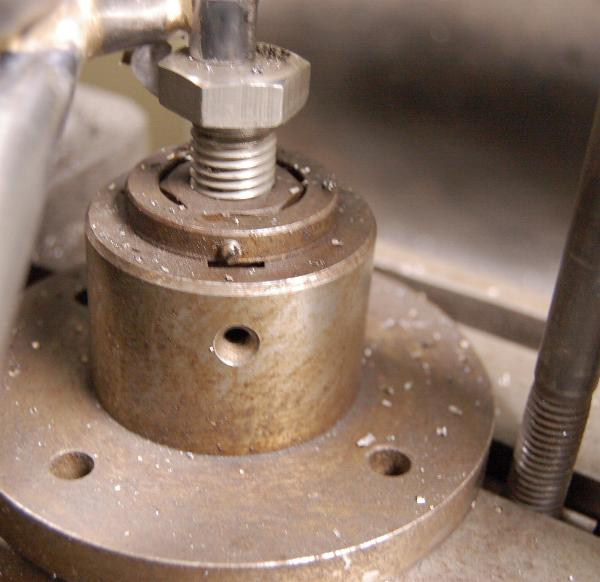
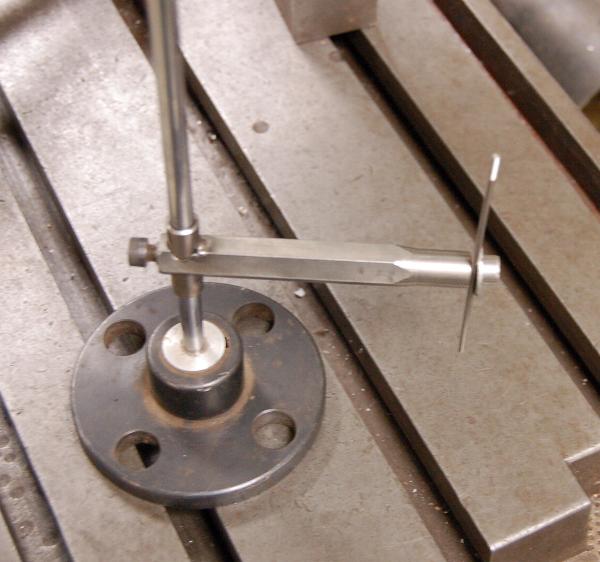
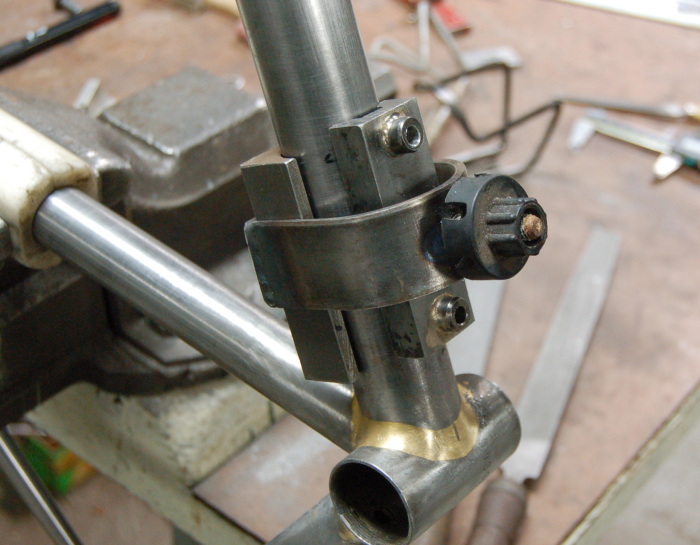
Adjustable support on the mill table, made from a drive flange and a
large nut and bolt

Very short tubeclamp made from some aluminium scrap. Short enough so
you can file both ends of the bridge without unclamping, making it easy
to get the fishmouths lined up
Clamp modified to position pumppegs
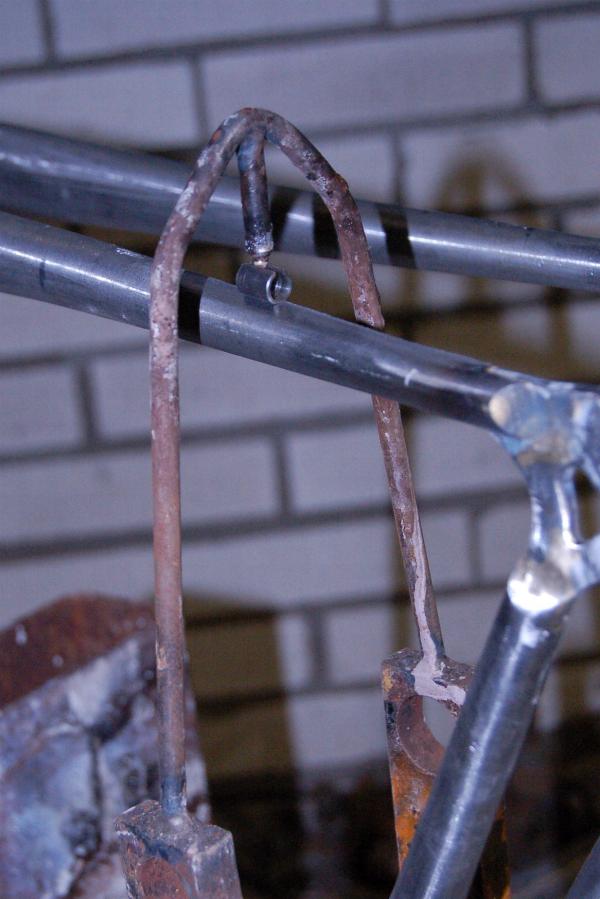
Fitting a brazeon
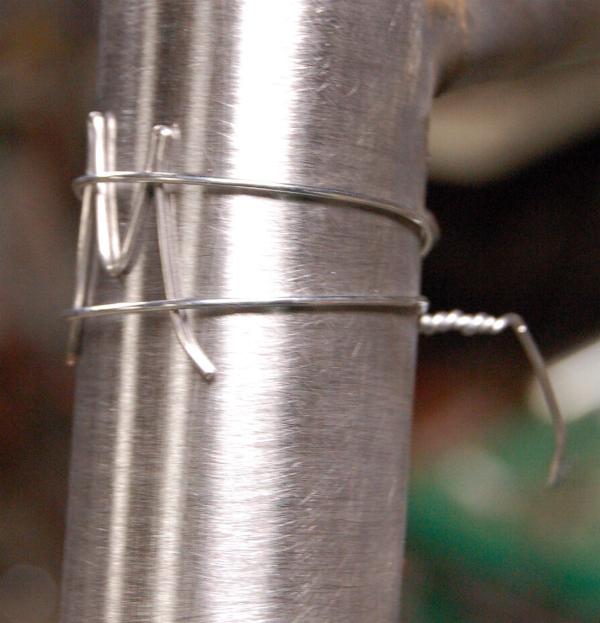
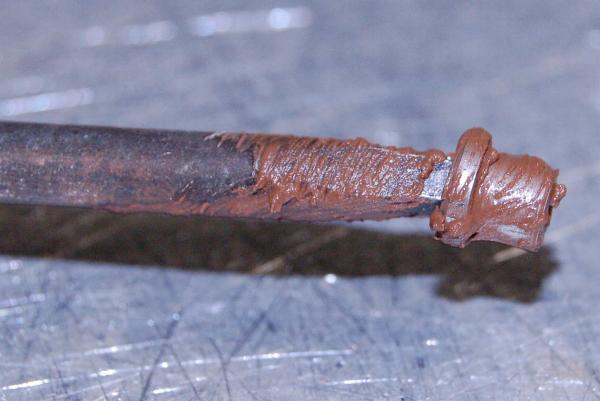
Temporarely tying the small bits to be brazed to the workpiece works
well. You get a better heattransfer, a smaller gap and the expansion of
the piece is better controlled. And you can see if the piece is
properly aligned! Once you've got some silver in place
you can snip the wire and finish the joint
I use a square awl to hold, flux and insert bottlecage bosses
Alignment tool made from an exhaustclamp to ensure the numbers are
stamped straight
A height-gauge, made from a drive flange
The workstand is suspended from the ceiling. Makes those dropped bits
much easier to find!
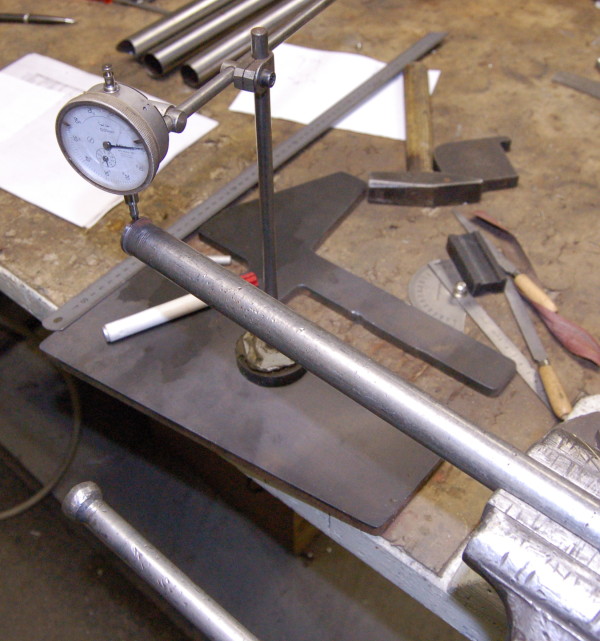
Measuring the butts and variation in wallthickness with an improvised
tubing gauge. The bar is normally used to knock the drills out of the
morse taper of the lathe
BTW the foot of the dial indicator is made out of an old loudspeaker
magnet
drilling fixture for bottleboss inserts